
Easter Cookie Tutorials
Hey everyone! Happy Easter!
Thank you so much for purchasing an Easter cookie kit! I can’t wait to see what you create. On this page, you’ll find step-by-step instructions on how to decorate your cookies like a pro. Happy decorating!
Before you start, be sure to prepare your workspace. Along with your cookie kit, here are a few things you may want to have handy:
A few paper towels
Scissors
A small fan (to dry cookies faster!)
A few toothpicks or a similar tool you can use to help settle the icing
A regular or paper plate to put your sprinkles on
A cooling rack or cookie sheet for your finished creations to dry on
Once your workspace is prepared, it’s time to begin! Follow the steps below, and use the video tutorials to make your cookies picture perfect.
Knead your icing bags in your hands for 1-2 minutes before starting. This will help the icing incorporate back together if it has separated. Separation is completely normal for royal icing!
Cut a small hole at the tip of each piping bag using sharp scissors. Remember, start small. You can always cut more later, but you can’t put it back on. DON’T CUT THE GREEN PIPING BAG JUST YET! There are special instructions in the tutorial on how to cut it into a leaf tip!
Follow the steps in each tutorial to create the cutest Easter cookies on the block! You can follow the directions exactly, or change it up to your liking. Have fun with it!
Allow your finished cookies to dry, or enjoy your creations right away! Cookies will be completely dry after being left out overnight. Store in an airtight container for up to two weeks (if they last that long!).
Take a photo of your cookies and share them with me! You can tag me on social media (@courtscookieco), or send me a message or email with your photos so I can share them on my pages! I can’t wait to see your finished beauties.
A few things to remember:
You are not a professional! Cookie decorating takes time and practice. If you don’t get it the first time, wipe (or lick) the icing off, and try again. Your cookies will be just fine!
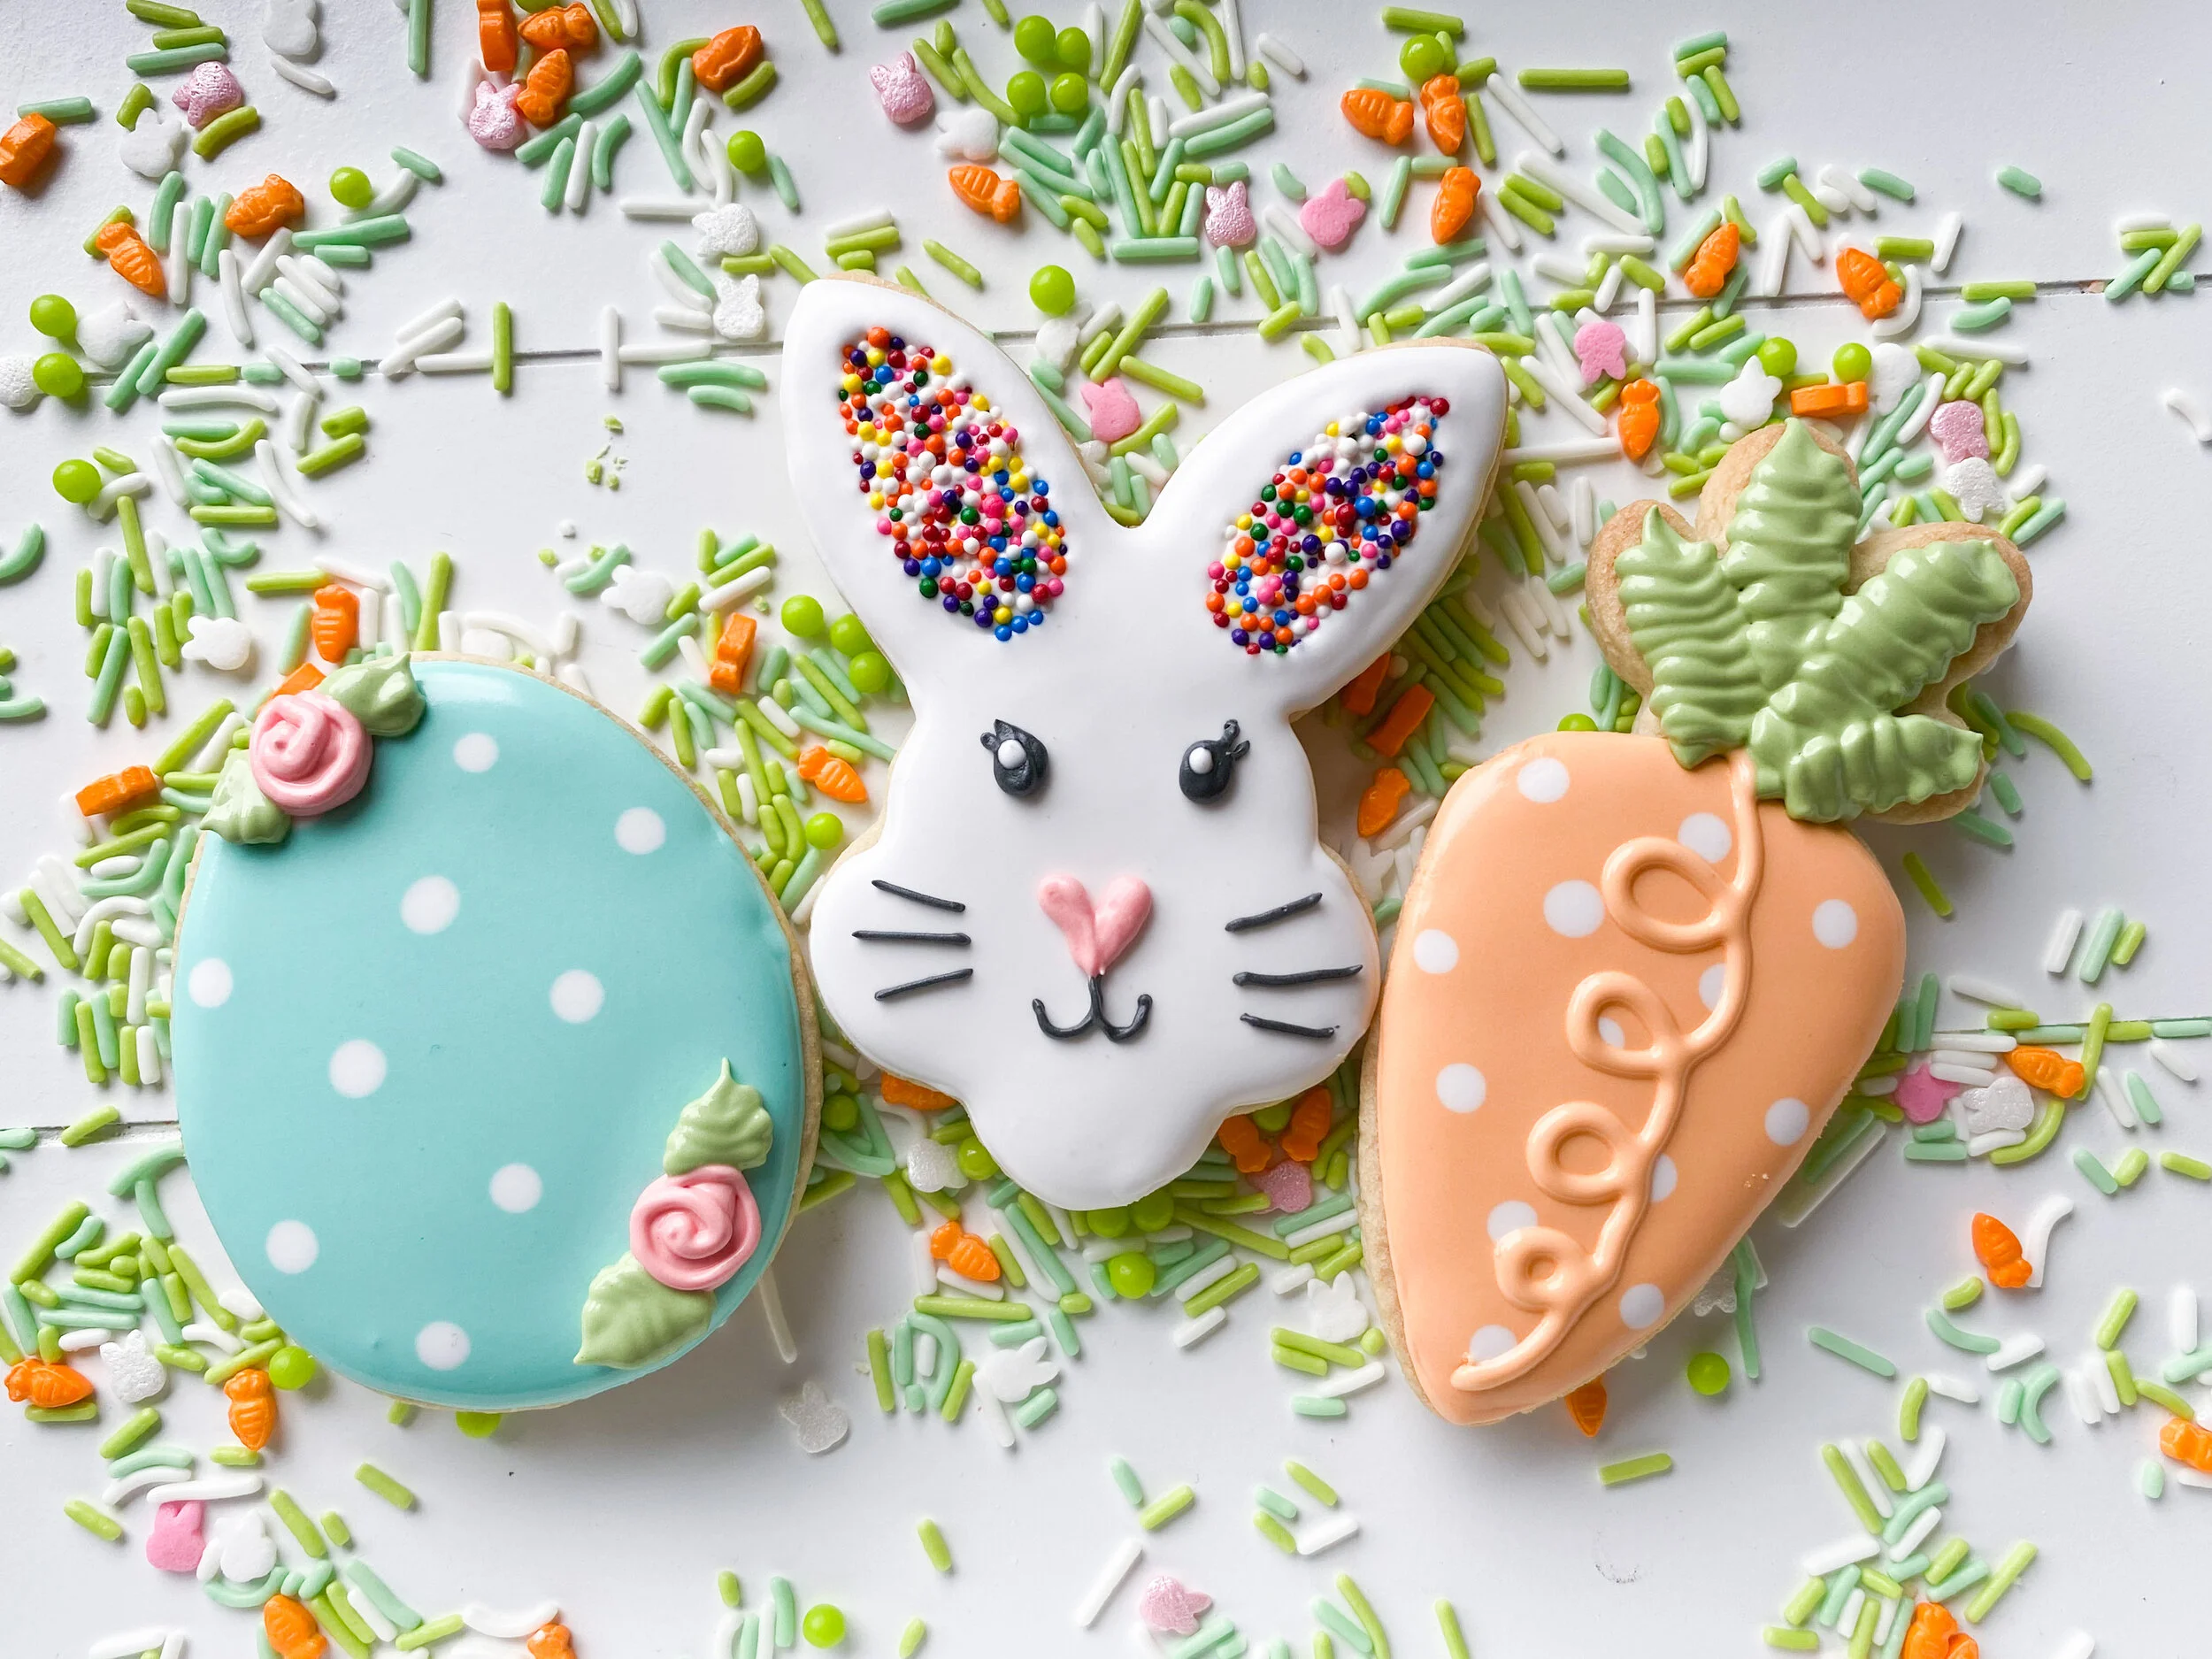
The icings are different consistencies on purpose. The runny icings (white, blue, and orange) are meant for filling the cookie and settling flat. The thick icings (pink, black, and green) are meant for the smaller details, and hold their shape once piped.
Have fun, and enjoy your cookies!
Thank you so much for supporting my small business. I am beyond grateful for all your love, encouragement, and cookie orders. If you have questions, comments, or want to order more yummy cookies, email me at courtscookieco@gmail.com, or go to my contact page and send me a message! I hope you enjoy my tutorials. Feel free to like/comment and leave feedback for future videos!
XOXO - Court